Modern DIY Wall Clock
Modern DIY Wall Clock
Couldn't load pickup availability
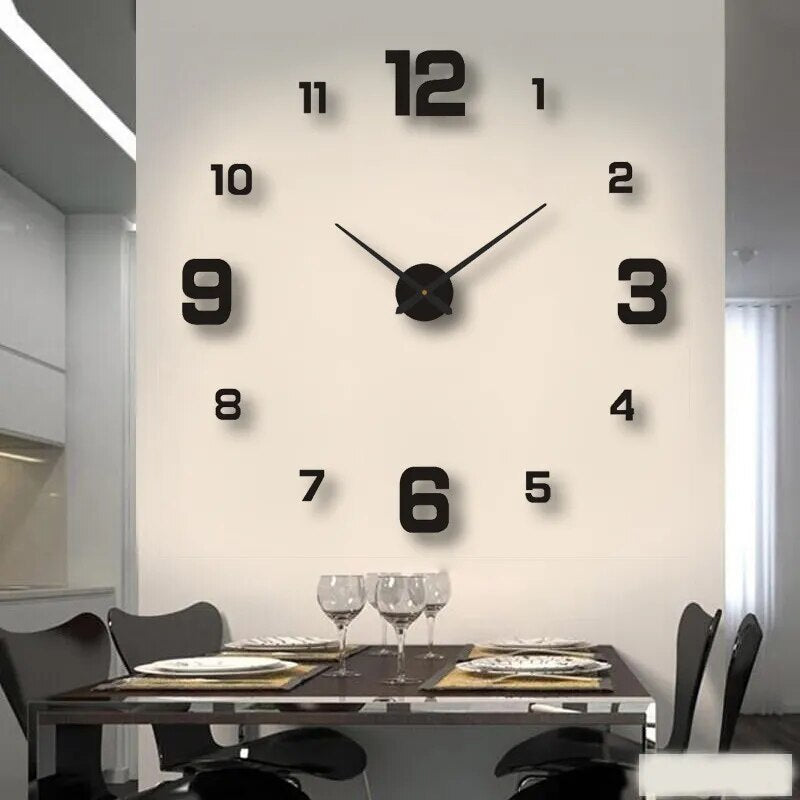
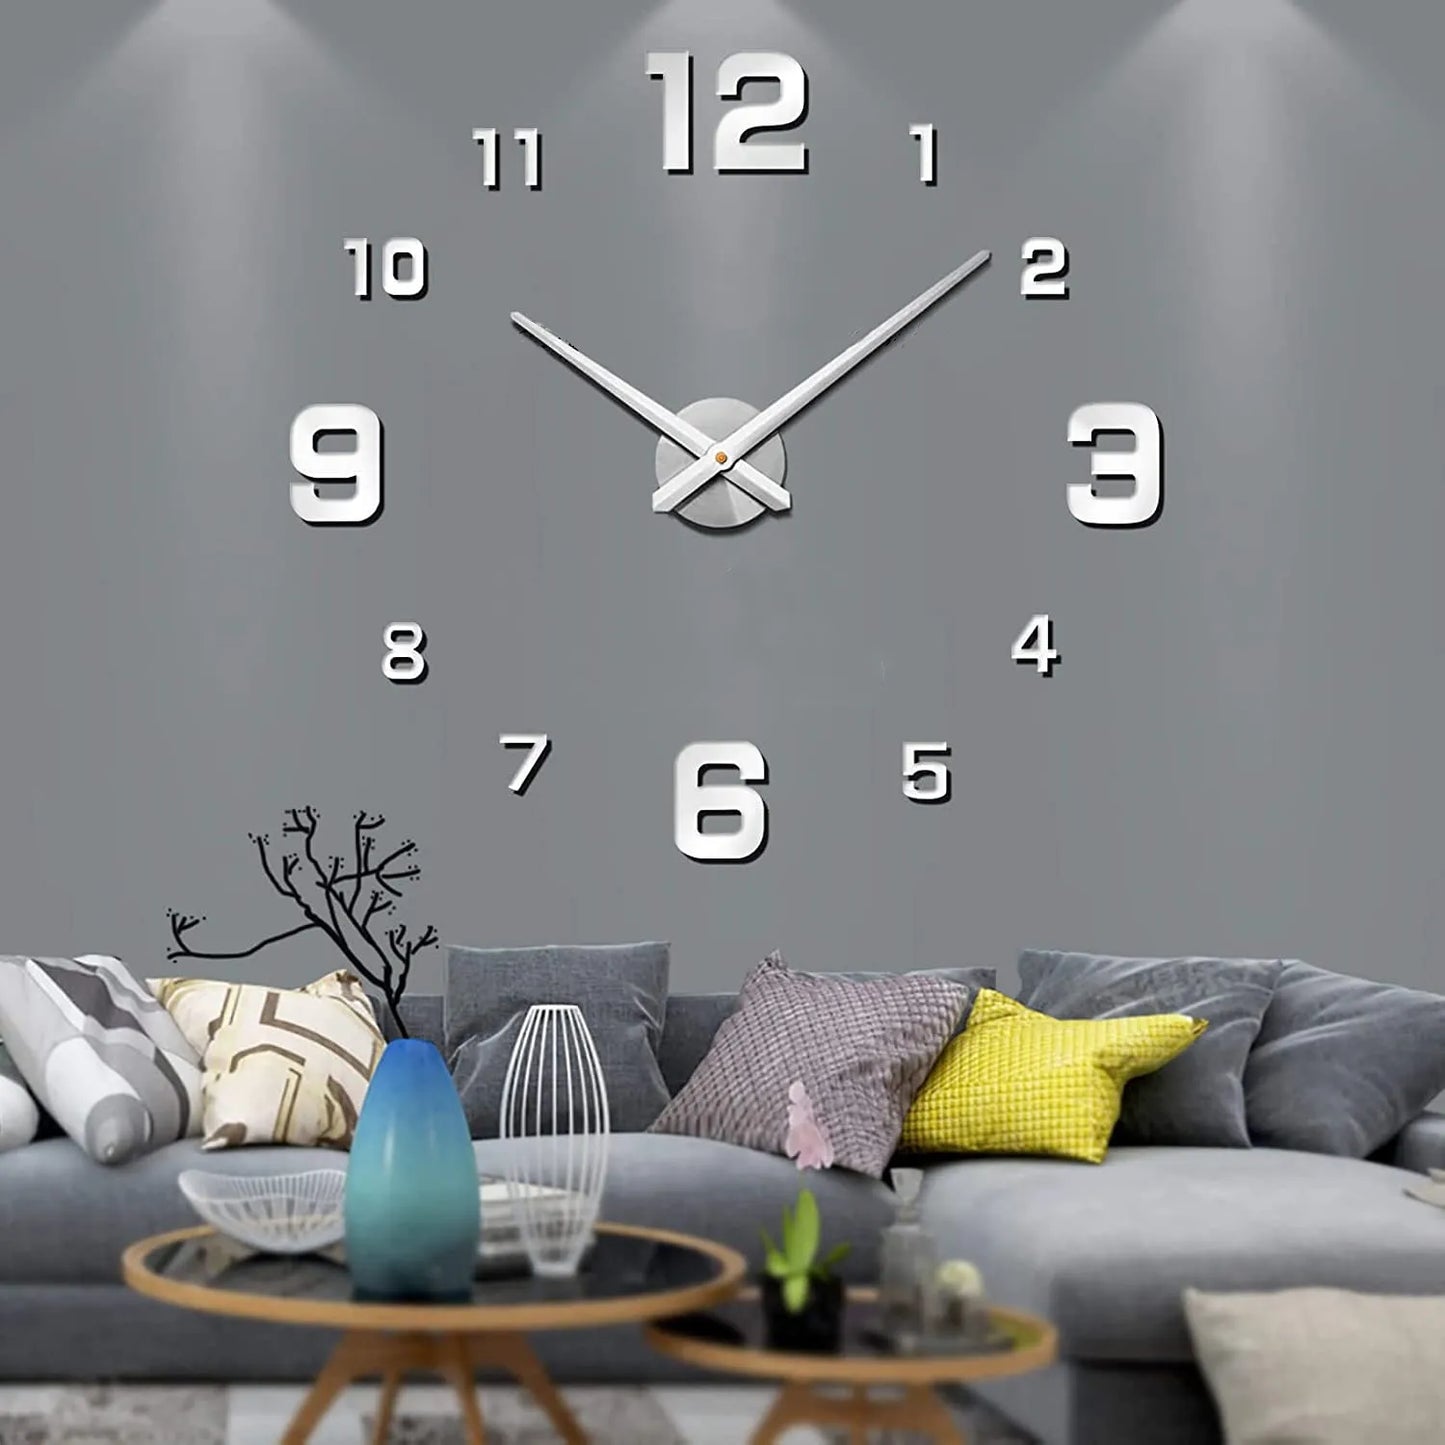
Upgrade your home decor with our Modern DIY Wall Clock – a stylish timepiece that not only keeps you punctual but also adds a contemporary flair to your living space. With this DIY clock, you can create a unique focal point on your wall, showcasing your creativity and taste.
Key Features:
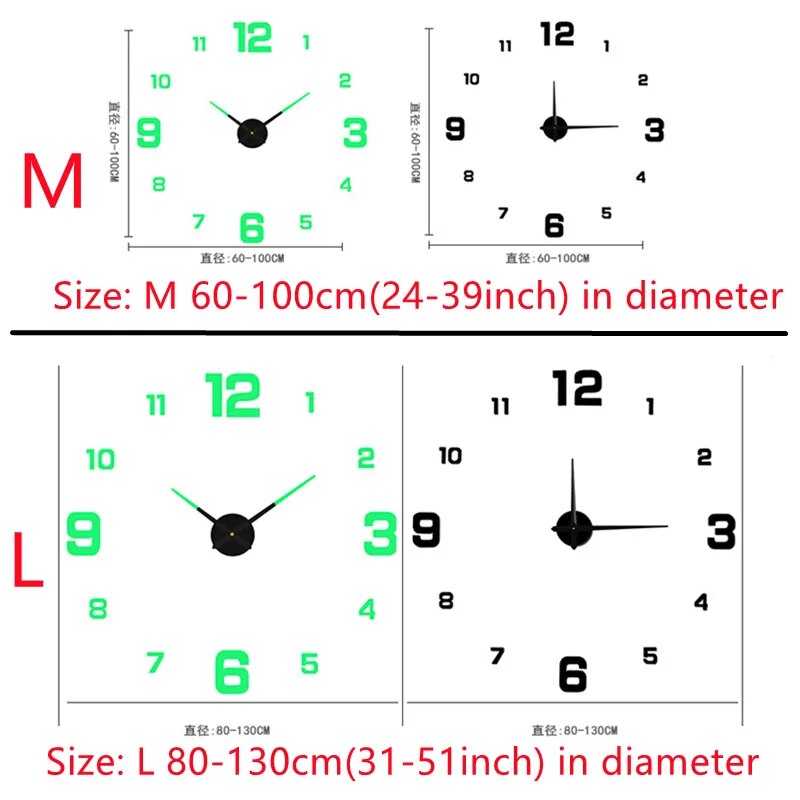
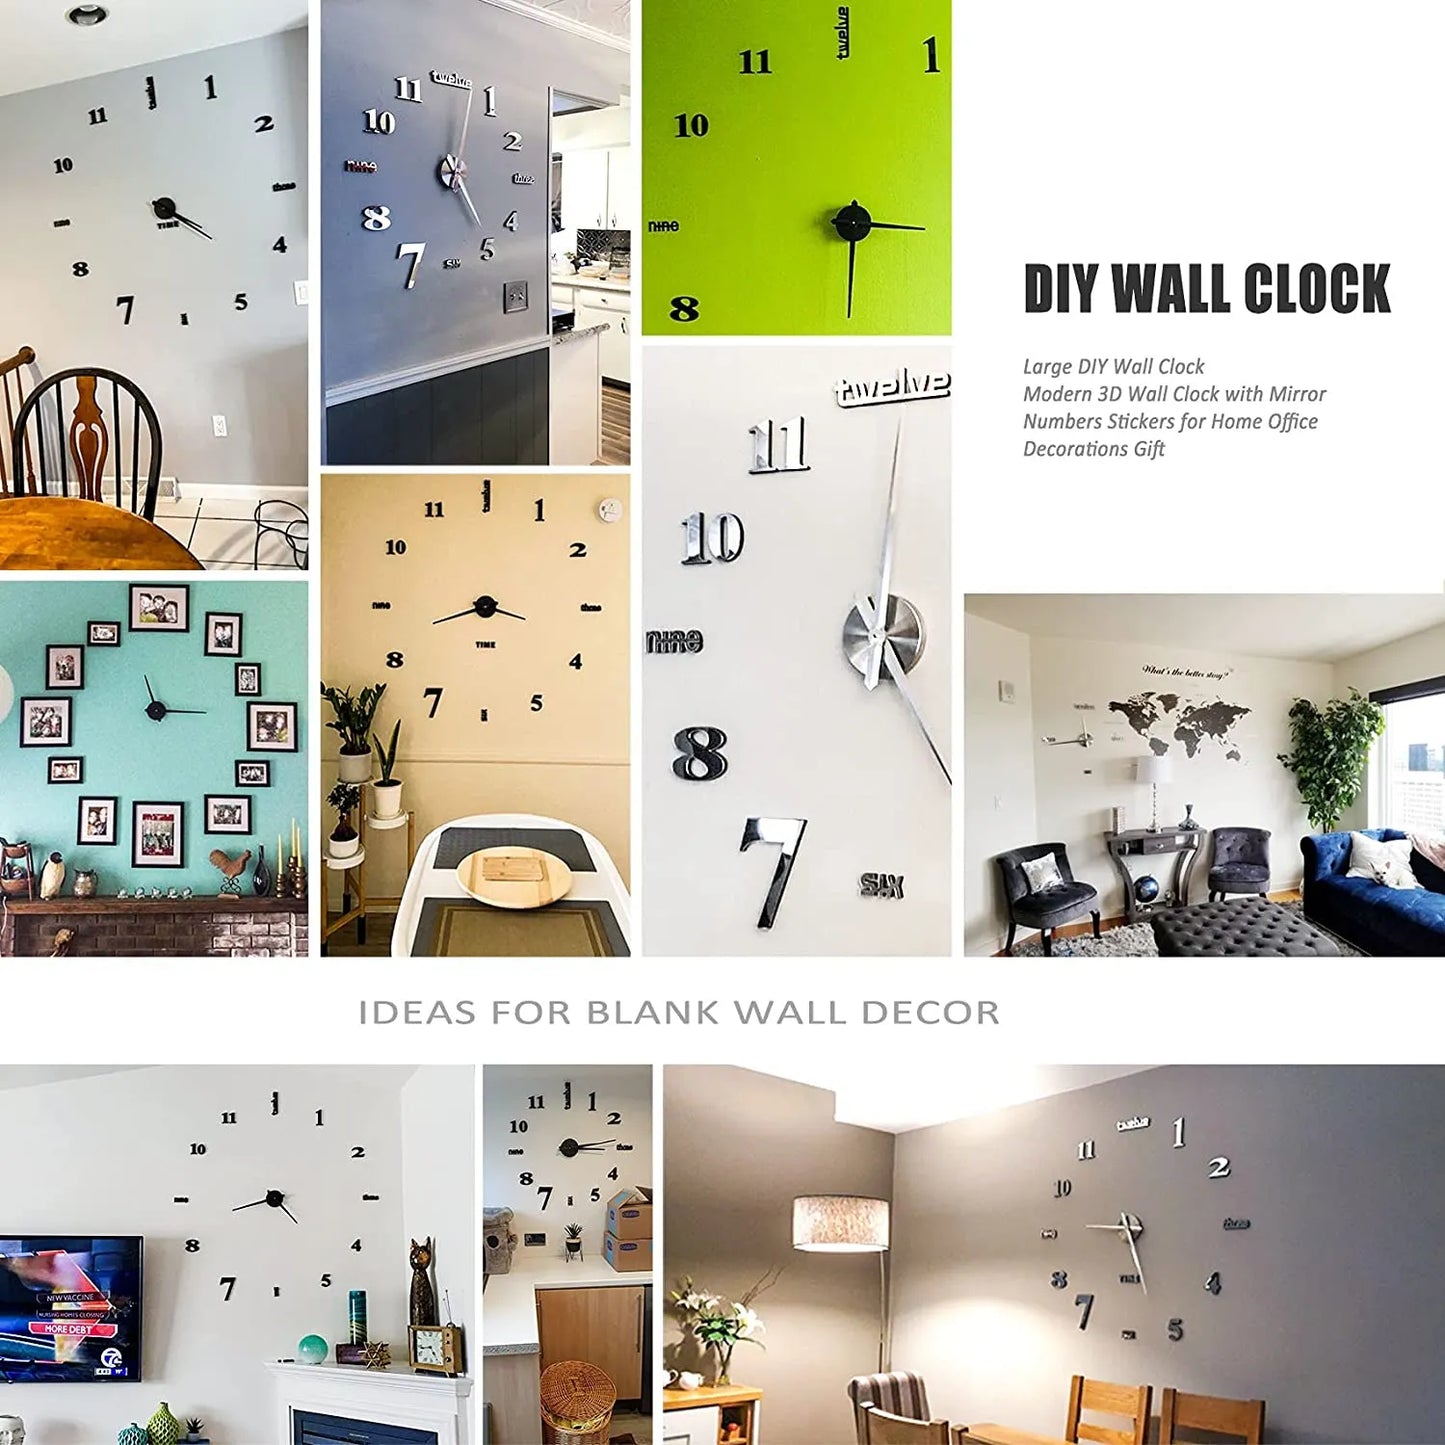
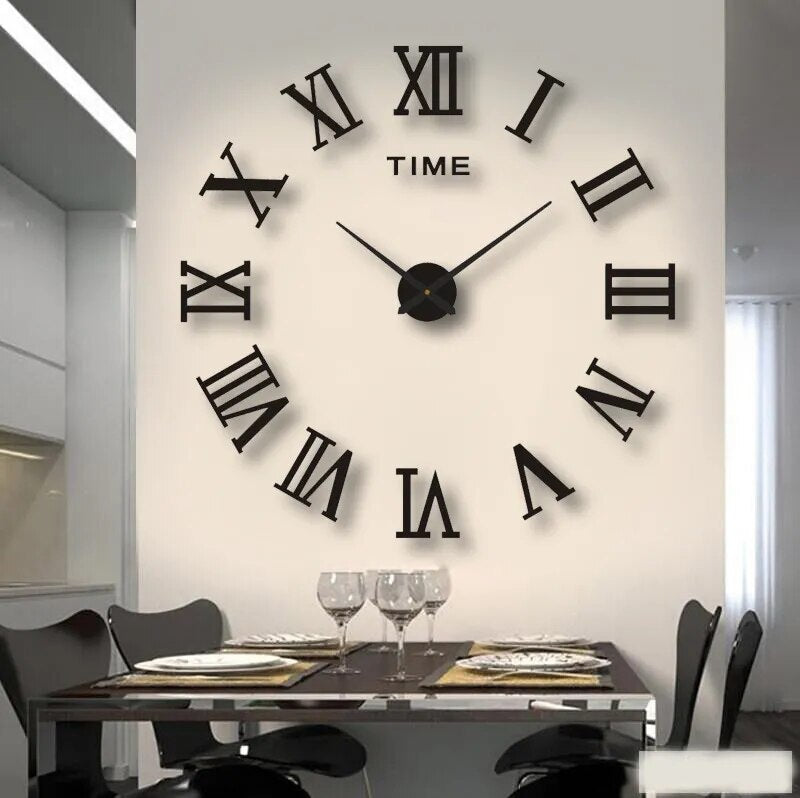
Sleek and Large Design: Designed with a large clock face, making it a bold and eye-catching addition to your home. Its sleek and modern style effortlessly complements a wide range of interior design aesthetics.
Battery-Powered: The clock is battery-powered ensuring hassle-free operation without the need for power cords or outlets.
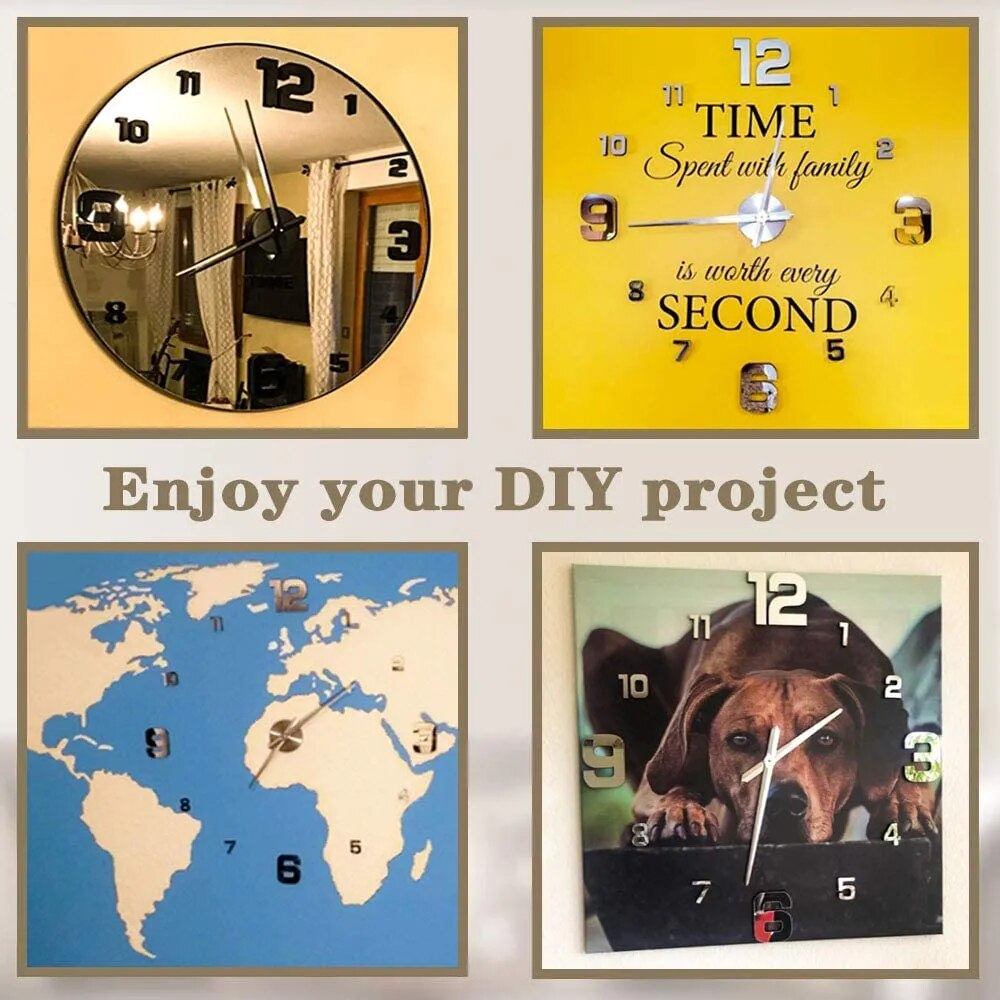
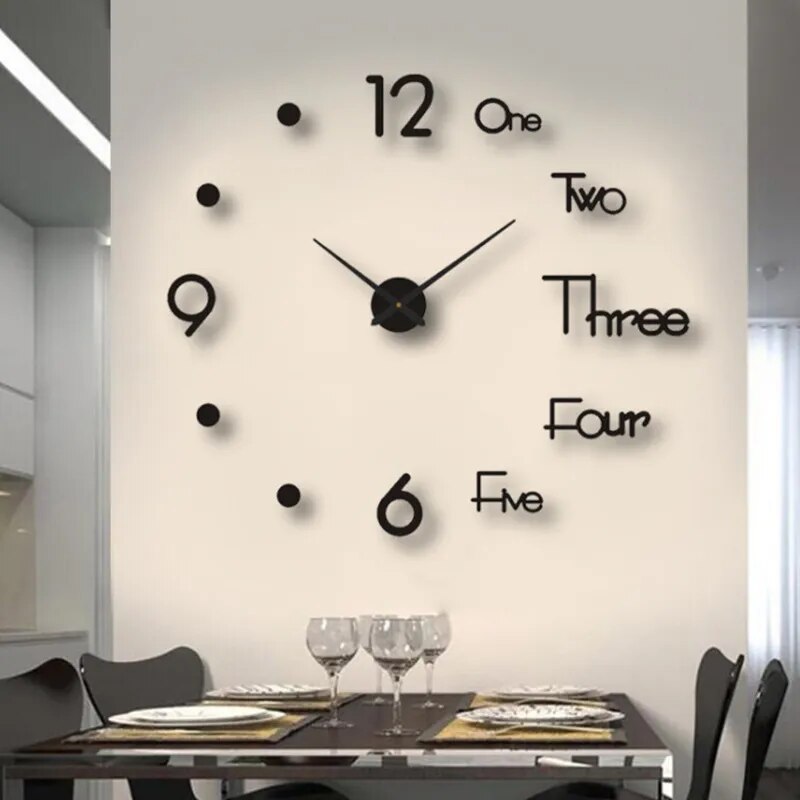
Versatile Decor Element: This DIY clock is perfect for various settings, from living rooms and bedrooms to offices and entryways. It's a versatile decor element that can transform any room.
Gift-Worthy Packaging: An excellent present for creative friends, family members, or anyone looking to enhance their home decor.
Personalized Timekeeping: With this DIY clock, you not only tell time but express your unique style and creativity. Showcase your personality through your choice of clock design and layout.
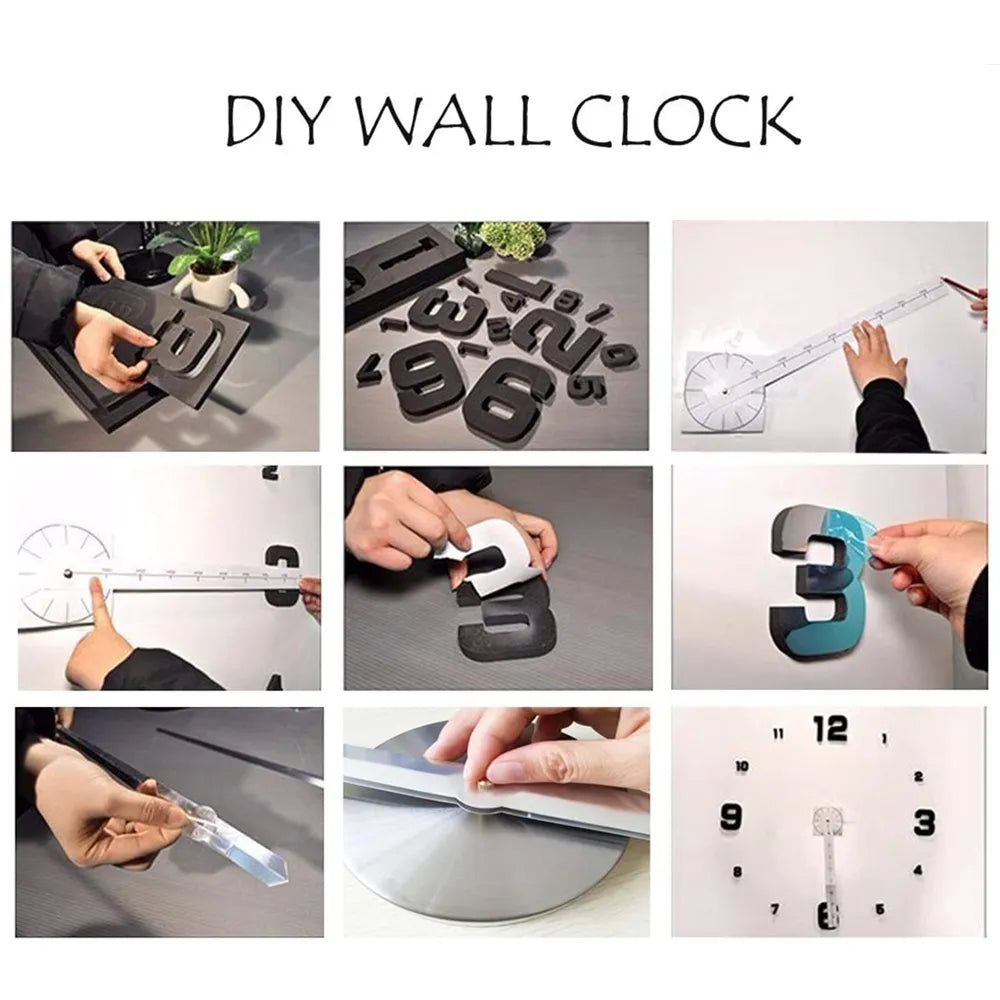
Specifications and Instructions:
2. Hang the clock on the nail.
3. Hang the center hole of the scale on the movement shaft.
4. Cut off the extra parts according to your needs.
5. Let the corresponding positions on the scale coincide with each other
6. Mark the places for the numbers with a pen
7. Take out the mirrored acrylic numbers and tear off the double-side tape on the back.
8. Paste acrylic numbers on the corresponding black numbers.
9. Remove the tape on the back of the black numbers.
10. Paste the numbers one by one to the Corresponding Marked Place.
11. Remove the protective film from all digital surfaces.
12. Install the hour hand and align it at 12 o'clock.
13. Install the minute Hand and tighten the nut.
14. Adjust the time clockwise with the gear adjuster.
15. Install a AA Battery (not included) in the right direction.
16. Hang the clock disc in place.
17. Done!